We received the below message from one of our deployed Troops:
“Hi Myra, Hope you’re well. My name is xxxxxxxx. I’ve gathered information from our red cross friends here in xxxxxxxx that your organization provides guitars for deployed soldiers. I’d appreciate your help and would make good use of the guitar during worship sessions or even spare time. Please advise. Thank you in advance! Kind regards,”
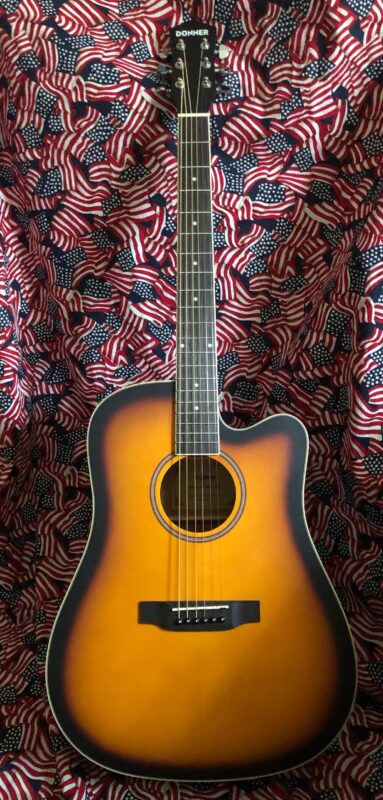
#468 was shipped to our Troops this afternoon!
God Bless America, God Bless Our Troops and God Bless Our Veterans!