We received the below message on Tuesday, 18 May 21, from one of our deployed Troops:
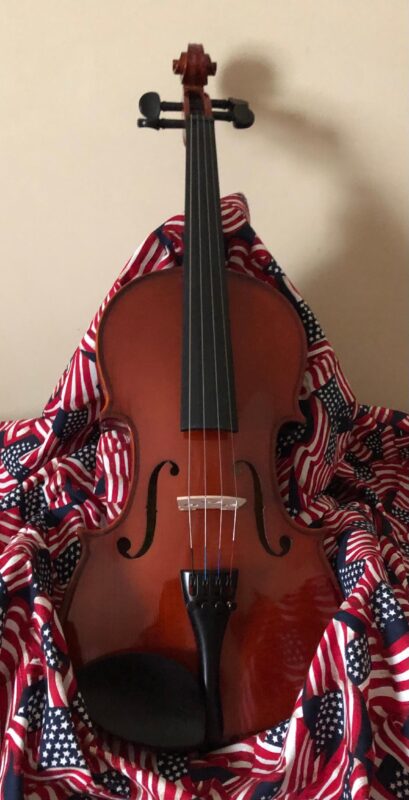
“Ms./Mrs. Foskey, I just read a story about a chaplain who received a guitar from your organization. It also stated in the story that you donate other stringed instruments as well. I was wondering if that included violins? If so, I would like to put a request in for one, if possible. It has been a long time since I’ve played one, but I’ve been wanting to get back into playing the violin for some time now. I’ll enter my information after this paragraph if that is possible. Thank you for your time. V/R”
#287 was shipped to our Troops this afternoon!
God Bless America, God Bless Our Troops and God Bless Our Veterans!