We received the following message from one of our Troops on Sunday, 21 Oct 18:
“Hey guys! First off, I would like to thank you all for what you are doing. When we are out here in the “sand box” there are not too many things that we get to enjoy. A lot of people do not realize how tough the conditions can be at times. The hard part is what we are limited on in terms of fun things to bring with us. So typically, guitars are on the lower end of priorities when it comes to packin…g up for the long term stint in the “sand box”. You guys are offering a fantastic method to help our Service Members escape reality if for only 5 minutes while playing these guitars. That is utterly amazing! So, again, Thank you for what you are doing! Now, as I mentioned, bringing things out here is hard. I was not able to bring my guitar with me and it had to be packed up and stored. Sad day for sure… I’m hoping that you can send me an electric guitar as I would like to get going in the chapel band. I’ve been playing for years and I know I can uplift a few spirits during my time here. I’m also planning to teach a few people how to play as well… Music is such an amazing release from the stress of the day. Many of my young soldiers out here are just playing video games and not too much else. I know that if I can get a few going on the playing, that the camaraderie that will be built will be amazing. It will definitely help make the time pass by a little quicker and it might help that one Soldier who is having a really hard time being away. So, one more time, thank you for what you are doing. I truly can’t say it enough. Have a wonderful Sunday!! God bless!!”
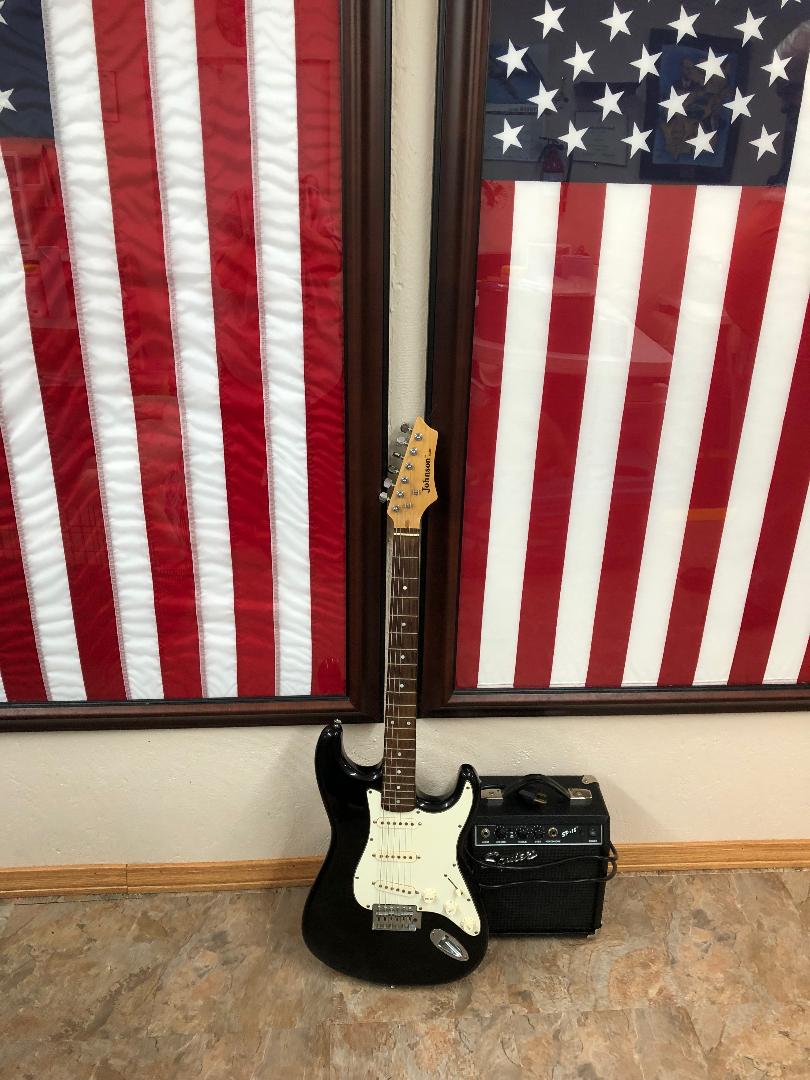
Guitar #76 was shipped to our Troops this afternoon!
God Bless America and God Bless Our Troops!